Getting a template is easy but setting the template can be quite a challenge, particularly the web part.
In my last post I explained how you can get a template, pages, web parts and files. In this post I’ll show you how you can set the template, add pages, web parts, and files.
Setting a site template with pages, web parts and files
I think you’re going to be surprised when you see the code:
1. Set provisioning template to subsite or root site
You can use the PowerShell script for adding new root site or subsite. In my case I also use it, but I won’t discuss that in this post.
If you compare with the other code from Get-ProvisiongTemplate.ps1, you won’t see it here for pages and script files. In part 1 the chapters „2. Save selected page“ and „4. Save all script files“ you’ll find the command Add-PnPFileToProvisioningTemplate. This command will save name and location for each file in the site template.
Call this command:
With only one command it sets new template, and uploads all pages and files (CSS, HTML, JS,…) to the SharePoint site. Easy!
2. Add web parts
Unfortunately, some web parts cannot be imported directly to the other site. Before the script adds the web parts to the other site it will check for each XML-file the list IDs, view IDs, and the URLs. In XML you’ve got to adapt some information like
- URL,
- List ID
- View ID
- …
In my case a script has got to adopt only URL, List ID and View ID in some web parts. The site has three web parts:
- 1x ListViewWebPart (Replace the List ID and View ID)
- 2x Script Web Parts (Replace the URL)
Unfortunately, when exporting the Web Parts, I forgot to develop a function to be used as a placeholder for URL, list ID and, view ID. In this case, I copy the sources of List ID and View ID and add these to the script.
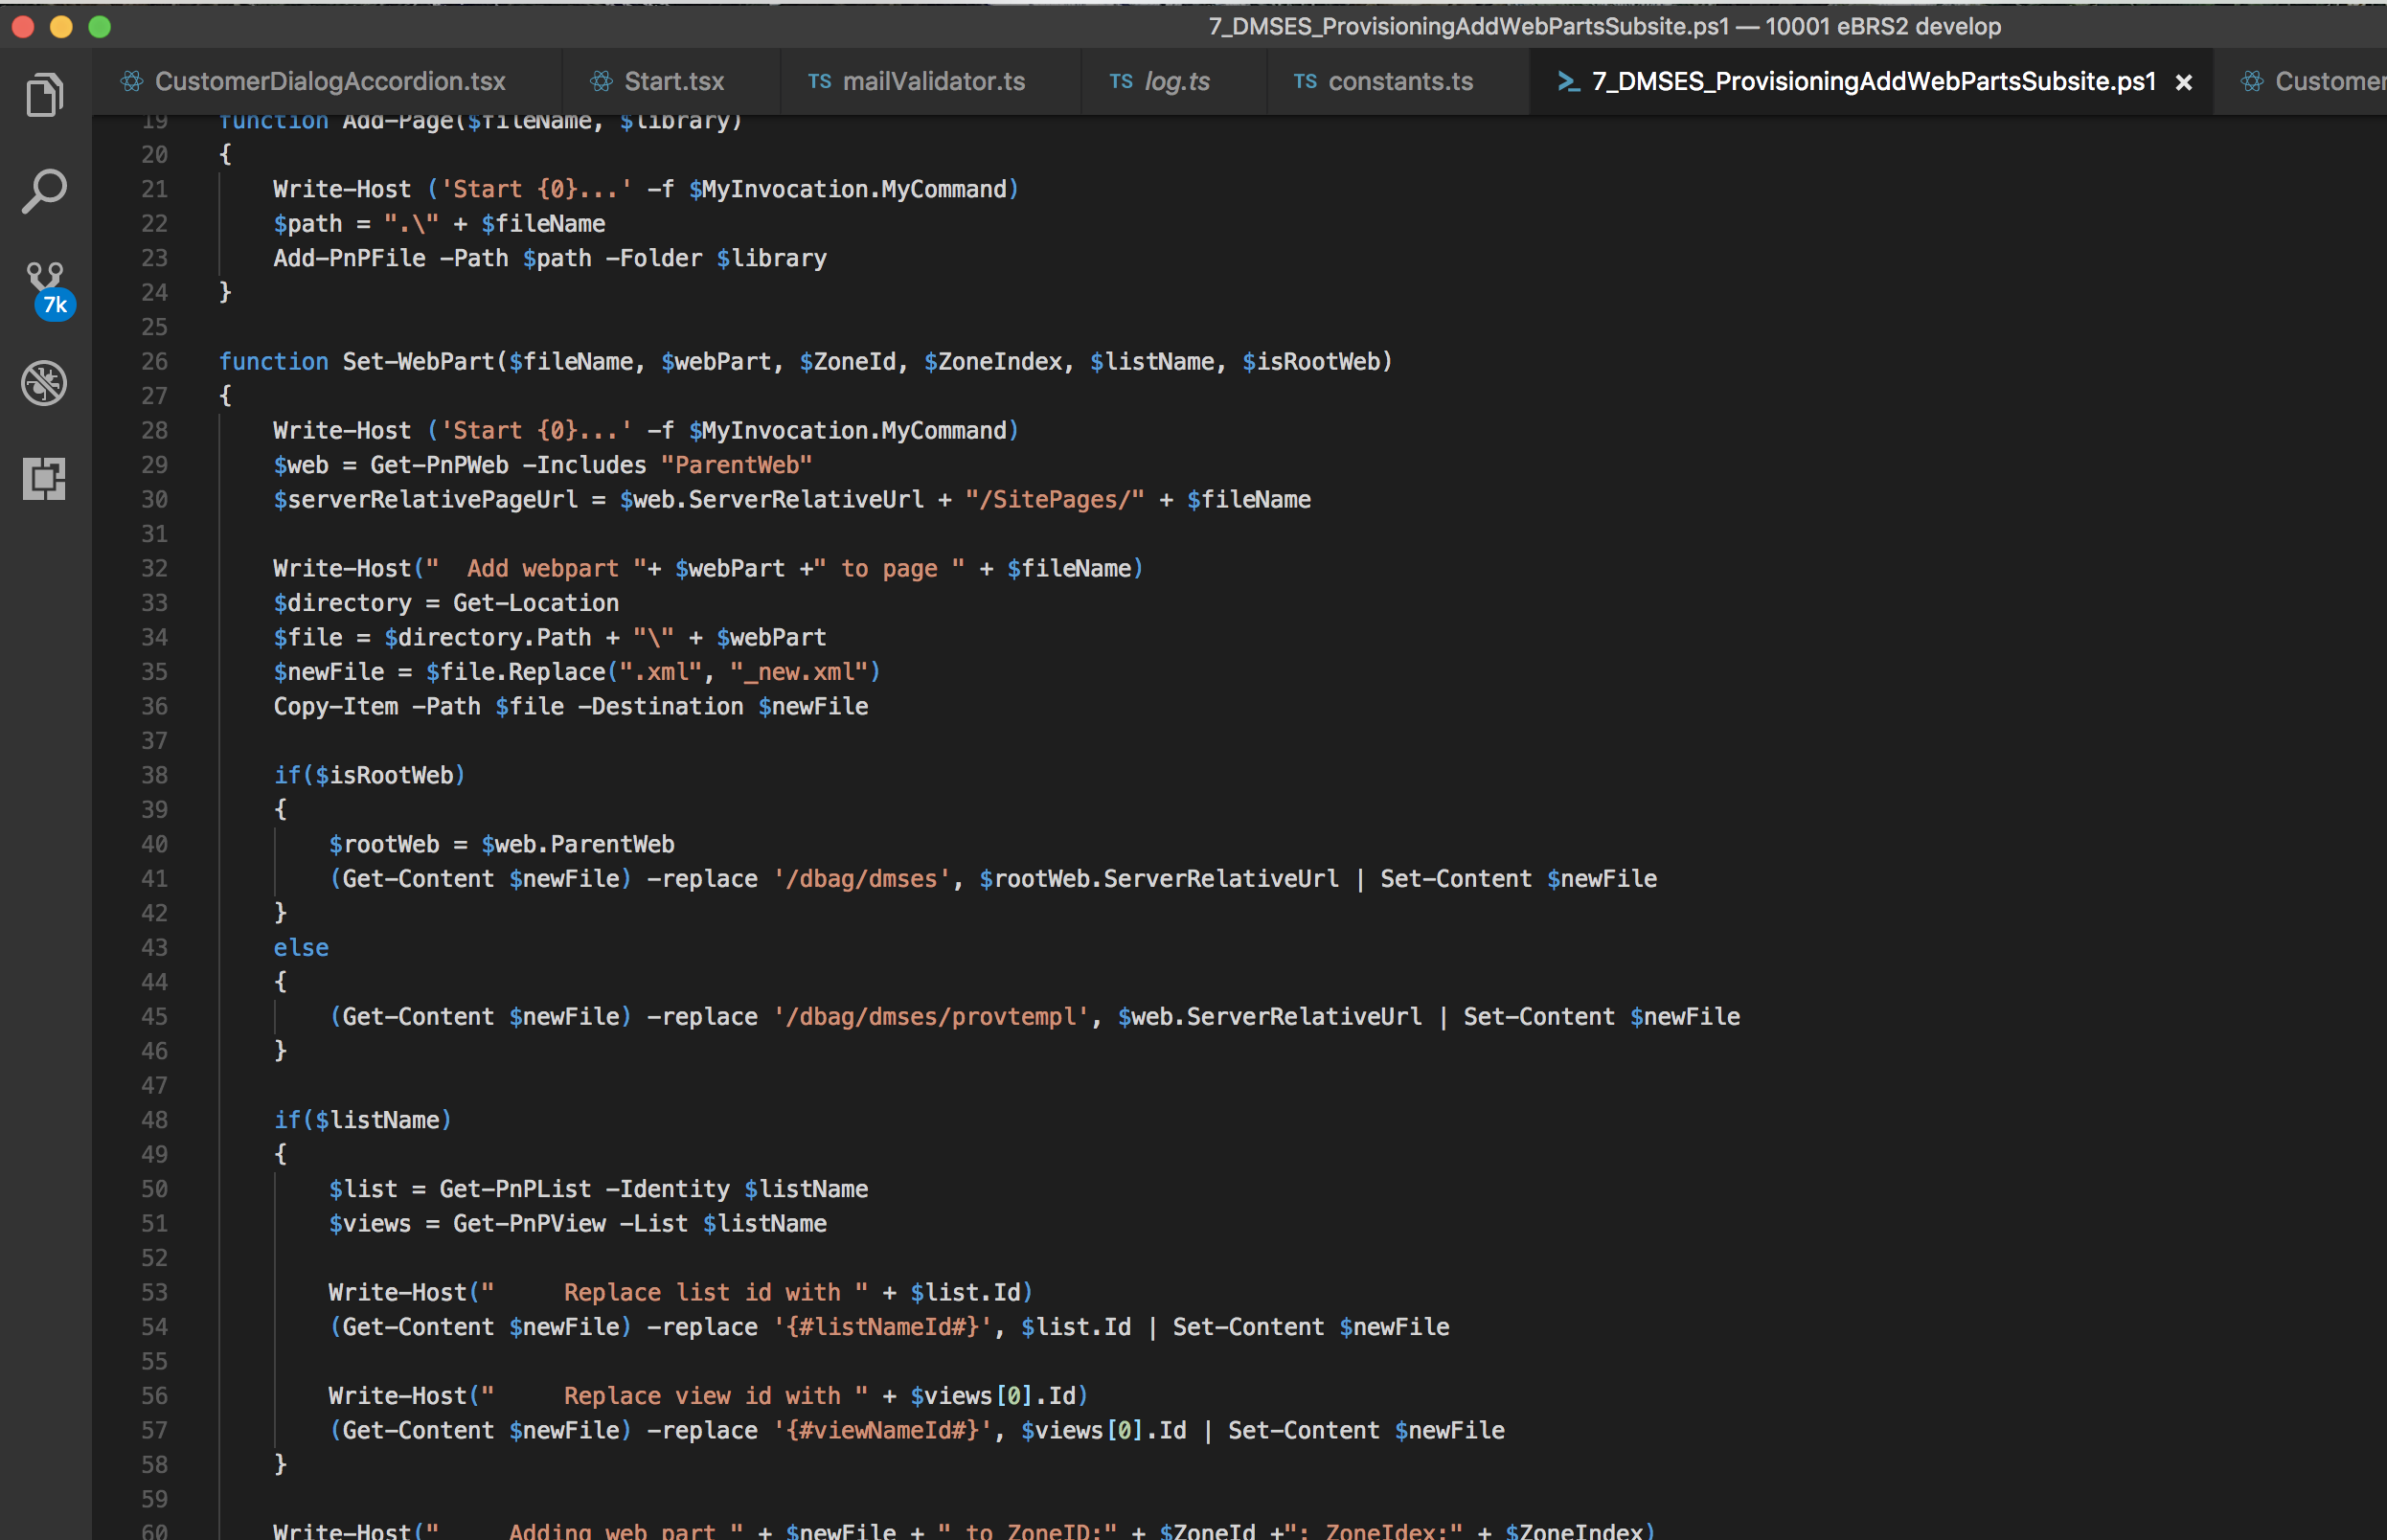
Here’s the whole function for adding the web part to the SharePoint page.
I found one bug, and this won’t work with the calendar web part (in German) using PnP PowerShell. As a solution I used default CSOM PowerShell to import the web part to the publishing page.
So that’s it! Sadly, setting the template is not easy and takes a fair amount of time until it’s working well and without errors. So, you’ve got to take more time when exporting and importing the template with its files until it’s stable.