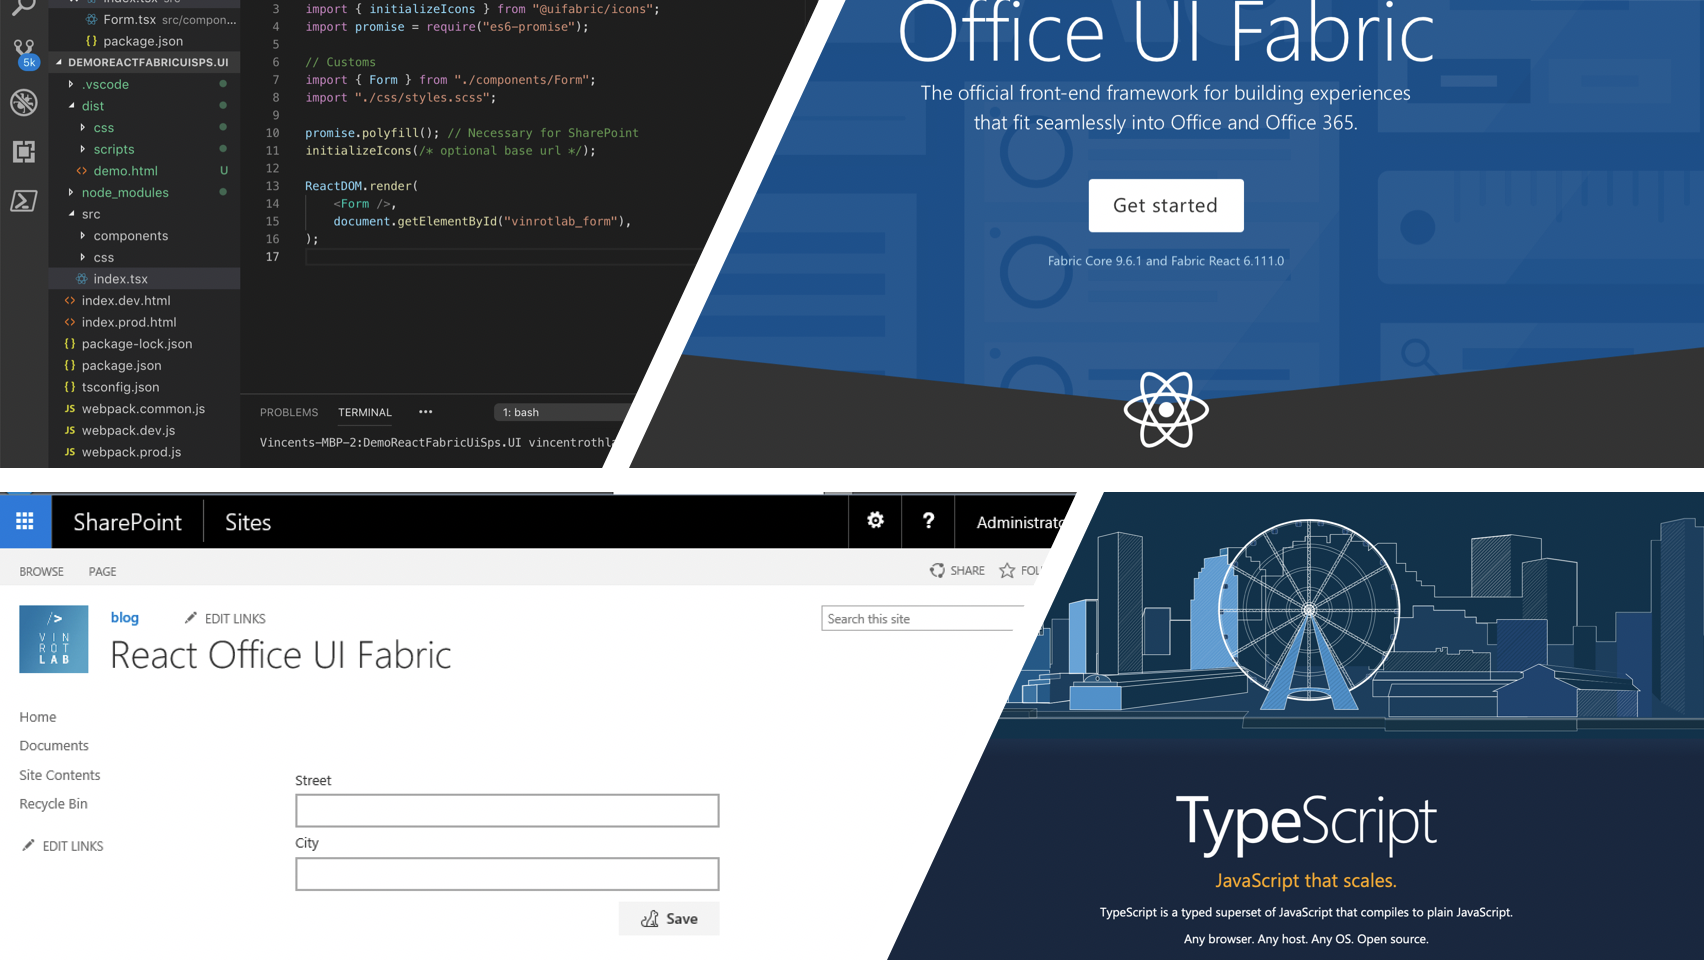
For my project, we cannot use SharePoint Framework, and we won’t use SharePoint Add-In Solution. Instead, we’re using JavaScript Injection. It means the JavaScript files are in the SharePoint library, and it references to HTML-file. It uses content editor web part to link to HTML-file.
I want to show you, how you can develop with React and Office UI Fabric and use it on SharePoint. The most important points are:
- Use the correct version of React 15.6.6 (if you use a newer version, this solution doesn’t work on SharePoint 2016.
- The is the same for Office UI Fabric (newer version is the newer react version)
For development you need:
- Visual Studio Code
- npm (manage packages)
- Webpack (build tool)
- Office UI Fabric (UI components)
- React JS (Framework)
- TypeScript
- Other packages (see in package.js)
Preparation
Before you start to develop, you should have:
- Visual Studio Code
- npm
(for MacBook users, if you are working first time with npm, please go to the page https://johnpapa.net/node-and-npm-without-sudo/) - Internet connection (download and install the packages)
- Knowledge of React
Building
Preparing on SharePoint
Normally I use with PnP-Provisioning. However, in this case, it’s a good way to understand, how the JavaScript Injection works.
- Go to the library “Site Assets” –> “Library Settings” –> “Advanced Settings.”
- Set “Yes” to Allow management of content types and click “OK”
- Select “Add from existing site content types”, add “Web Part Page” and click “OK”
- Back to the library “Site Assets”, go to “Files”, select “New Document” with the content type “Web Part Page”
- Create a new site with the name “React Office UI Fabric”
- Add a content editor web part
- Enter “demo.html” in the content link field
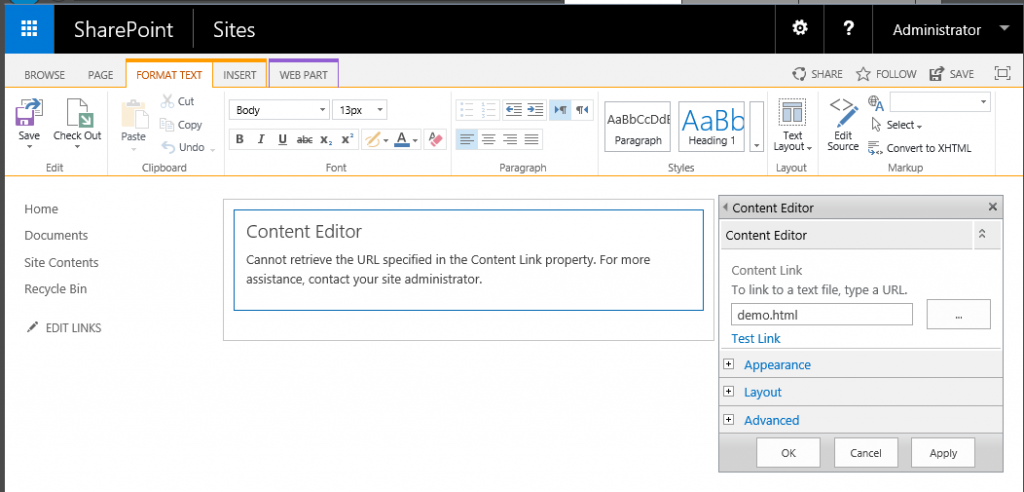
- Press “Apply”
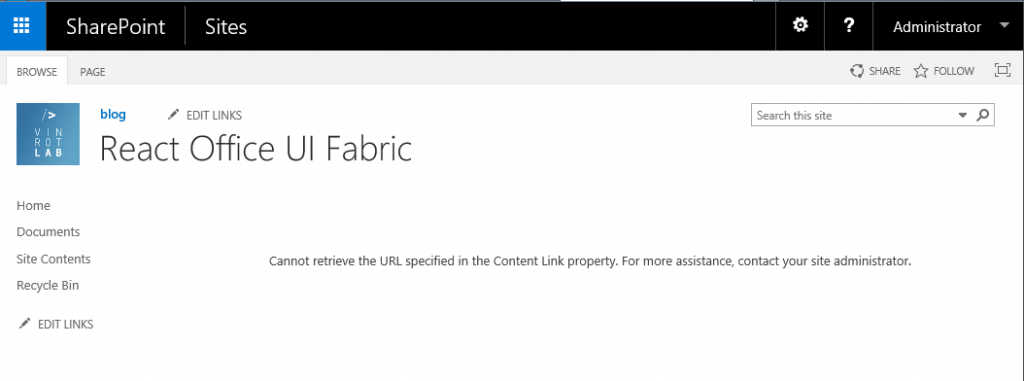
- The result should look like this:
Preparing on local computer with Visual Studio Code
Next step is, you should create a folder “demo_reactform” local on your computer and copy these files from
https://github.com/Vintaurus/SharePoint2016WithReactAndOfficeUIFabric
- Open Visual Studio and open the folder „demo_reactform“
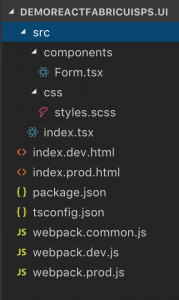
- Open the terminal in Visual Studio Code and enter
“npm install”
(shorter: „npm i“).
It downloads all missing packages from package.json. - There are two scripts in package.json:- build (Productive and minified version)
– dev (development version)
You can call it in a terminal of Visual Studio Code for development version:“npm run dev”
or for production version:
“npm run build”
Copy the files to SharePoint library
- After that, the built files are added to a new folder “dist”. This solution you can copy 1:1 to SharePoint library and run it.
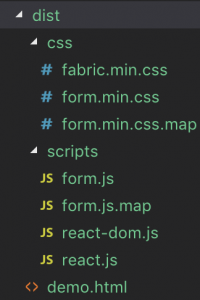
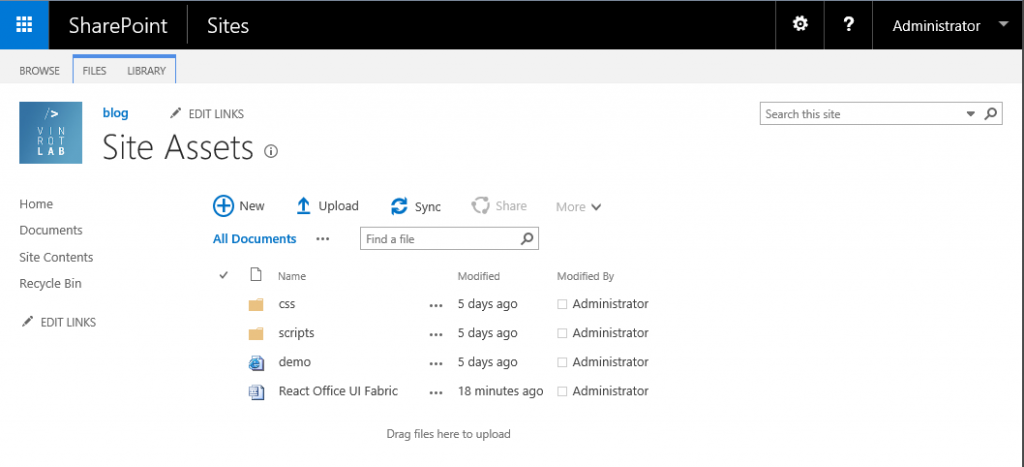
- Here is the result:
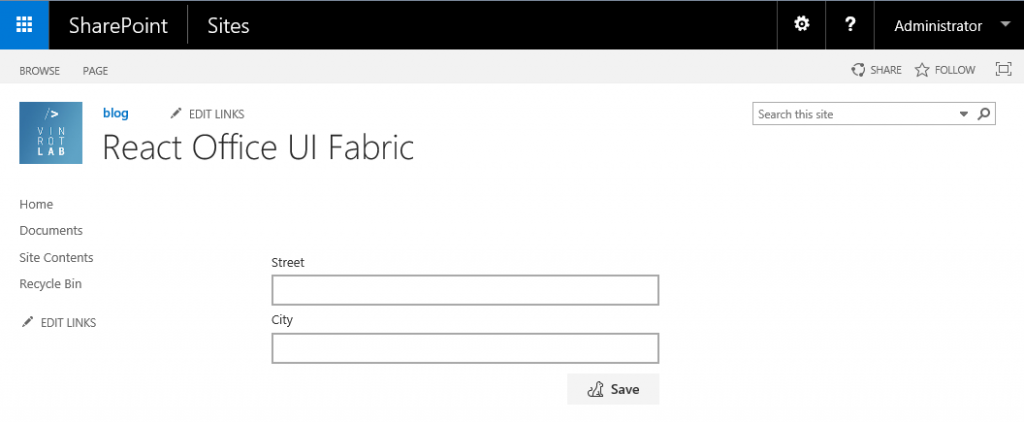
This solution is a good basic scaffolding to start for development. You can optimize in webpack and try to update some packages, but not React and Office UI Fabric, if the solution should work on SharePoint 2016.
Motivation to use Office UI Fabric
Here is the result of the large project using Office UI Fabric:
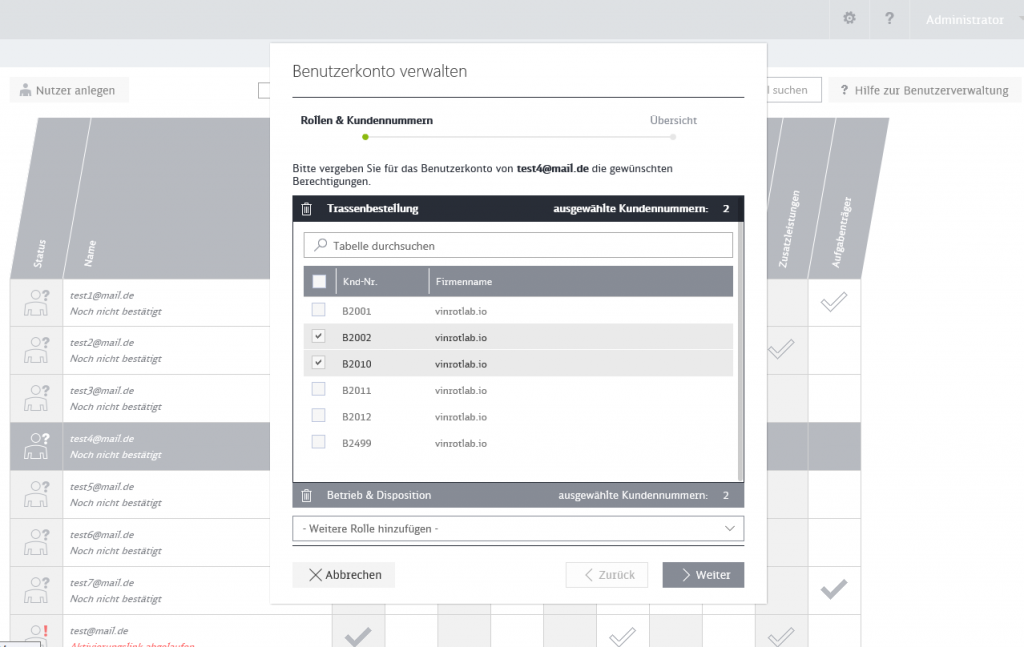
We are using:
-
-
- Detailslist (on the page and on the dialog)
- Button
- Form (Textfield, Chechbox, …)
- Button
- Dialog
- Searchfield
- Dropdown
- Combobox
- MessageBar
- Selection
- Spinner
-
Only the component „scrollbar“ is not from Office UI Fabric.
